Payment Links
Payment Links allow you to accept payments online without requiring an integration. Simply create a payment link, share it with your customer, and receive payment through one of the available payment methods.
Note: Payment Links are used for Card payments, and other alternative payments. For Debit Orders and DebiCheck collections, see Electronic Mandates.

Creating a Payment Link
Click the Create button in the top-right corner.
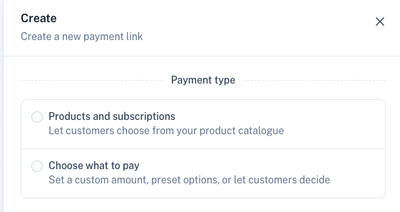
Step 1: Select a Payment Type
Choose how the payment amount should be determined.
| Payment Type | Description |
|---|---|
| Products and subscriptions | Select products from your product catalogue. Supports one-time products, recurring subscriptions, or a combination of both. |
| Choose what to pay | Allow the customer to enter an amount or select from predefined amounts. |
Step 2: Add Products
Add one or more products to the payment link.
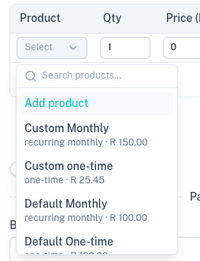
For each item you can specify:
- Product
- Quantity
- Price
- Description
You can mix:
- One-time products
- Recurring subscriptions
- Multiple products in a single payment link
Step 3: Configure the Payment Link
Complete the remaining payment link settings.

Common options include:
- Payment link name
- Button text
- VAT inclusion
- Customer information requirements
- Custom fields
- Payment completion behaviour
Customer Details
Enable Capture customer details to collect additional information during checkout.

Available fields include:
- Full name
- Email address
- Contact number
- ID number
- Company name
- Company registration number
- VAT number
- Billing address
- Shipping address
Custom Fields
Custom fields allow you to collect additional information from customers.

Click Add custom field to create a new field.
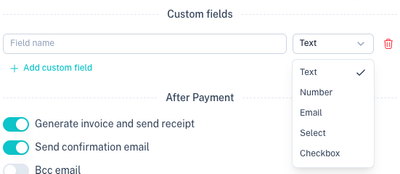
Available field types:
| Field Type | Description |
|---|---|
| Text | Free-form text input. |
| Number | Numeric values only. |
| Email address validation. | |
| Select | Dropdown list of predefined options. |
| Checkbox | Yes/No selection. |
After Payment
Choose what should happen after a successful payment.
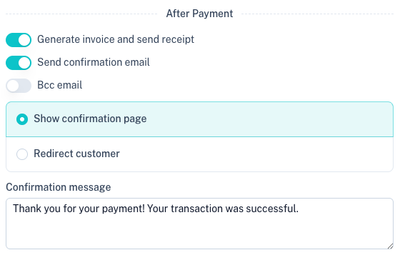
Available options include:
- Generate invoice and send receipt
- Send confirmation email
- BCC an additional email address
- Show a confirmation page
Redirect Customer
Instead of showing a confirmation page, you can redirect the customer to your website.
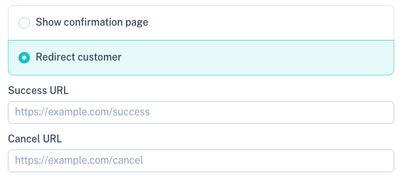
Configure:
- Success URL
- Cancel URL
Preview
The live preview updates automatically while you configure the payment link.
Payment Form Preview
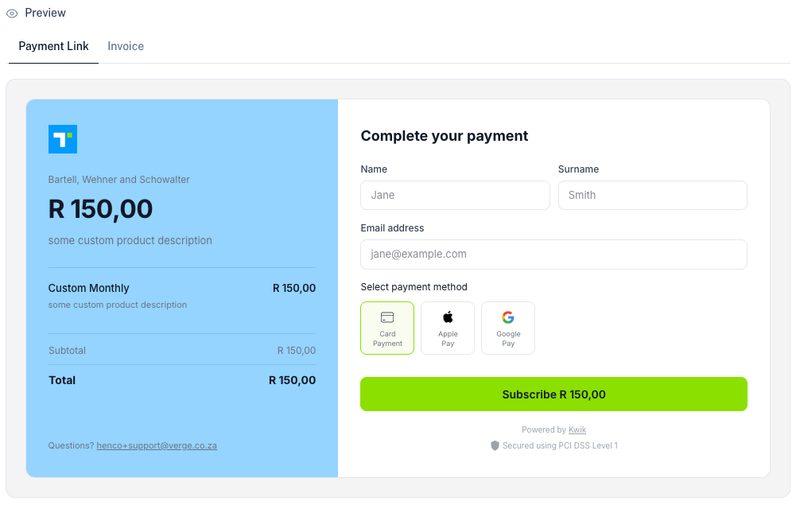
The payment form displays:
- Selected products
- Customer fields
- Available payment methods
- Payment button text
Invoice Preview
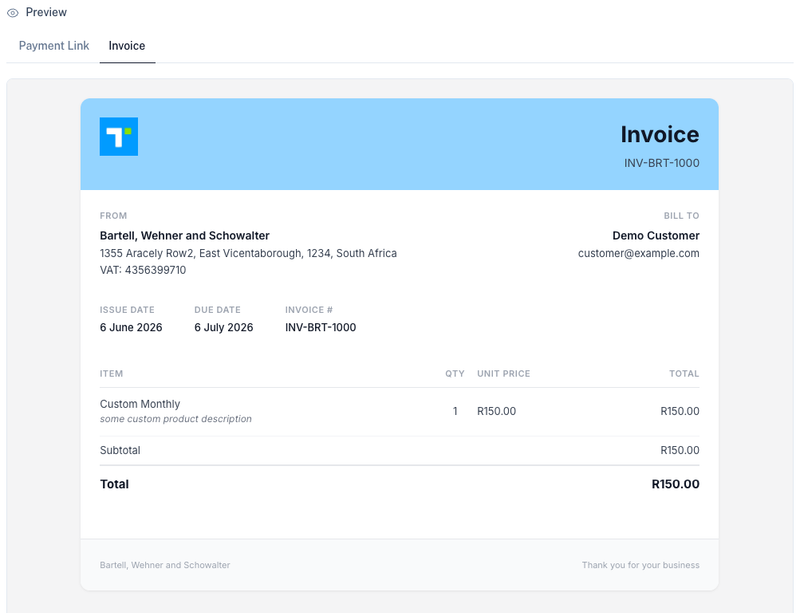
Invoices can be automatically generated and sent to customers after successful payment.
Managing Payment Links
Use the Actions menu to manage existing payment links.
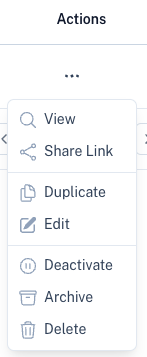
Available actions include:
| Action | Description |
|---|---|
| View | View the payment link. |
| Share Link | Copy and share the payment link with customers. |
| Duplicate | Create a copy of an existing payment link. |
| Edit | Update the payment link settings. |
| Deactivate | Prevent new payments while keeping the link available for reporting. |
| Archive | Hide the payment link from active lists. |
| Delete | Permanently remove the payment link. |
Branding
The colours, logo and customer-facing appearance of mandate pages and invoices can be customised under Branding.
This branding is automatically applied to:
- Electronic Mandates
- Payment Links
- Pay Buttons
- Generated Invoices
Tips
- Use recurring products for subscription-based services.
- Use custom fields to collect order or customer information.
- Enable invoice generation for easier customer record keeping.
- Test payment links before sharing them with customers.